![]() Tick-tock, tick-tock. What time is it? Well it’s tea time, of course…or should I say–Tea Tin Clock DIY time!
Tick-tock, tick-tock. What time is it? Well it’s tea time, of course…or should I say–Tea Tin Clock DIY time! 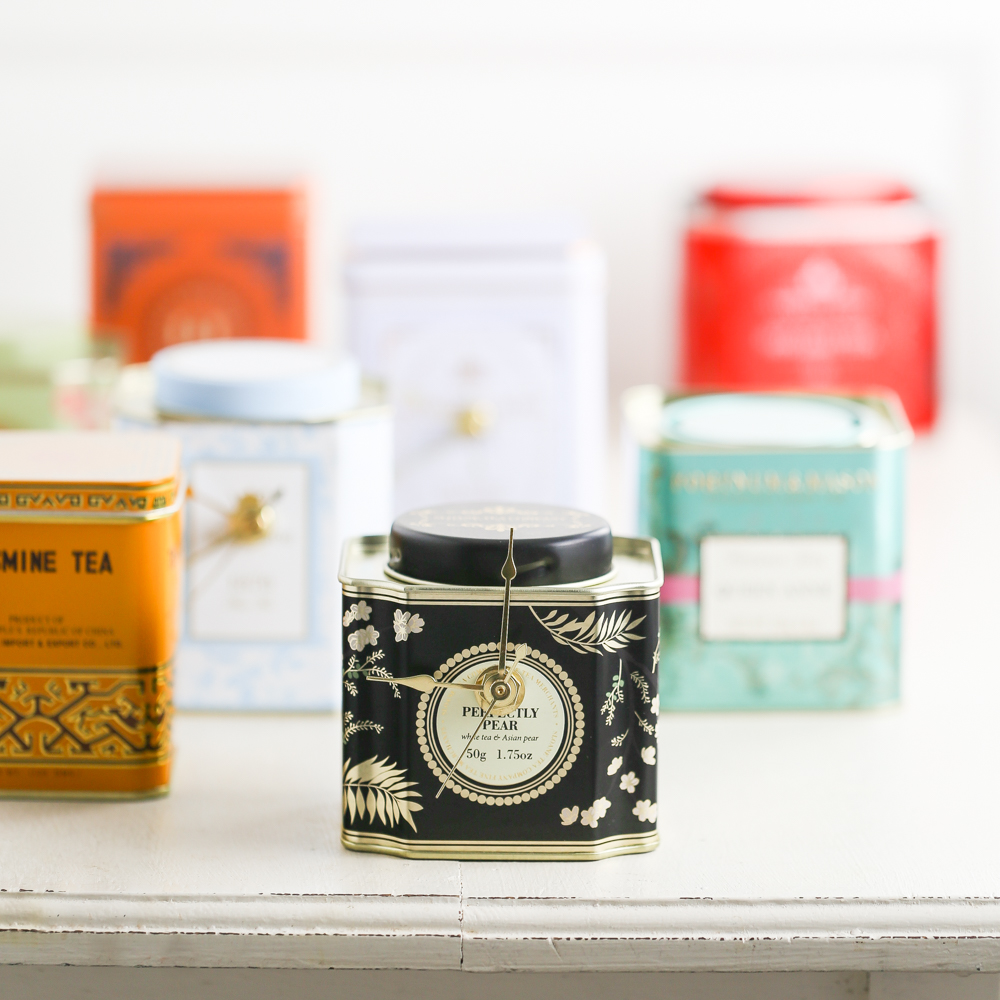 As I’m sure you can relate, I never can resist a beautiful tin of tea. I often find that the more gorgeous a tea tin is, the higher my expectations are for how the tea should taste. While I absolutely love the 3 steeps from the tins seen here (Sloane Fine Tea’s Perfectly Pear, Harney & Sons’ Paris & Wedgwood’s Golden Rose 1870), there are many other times that I’ve been disappointed.
 But whether I love the brew or not, tea tins last eternal. This Tea Tin Clock DIY allows you to get that much more out of the tins you cherish most. Just a tweak of some metal and you instantly have the most gorgeous and practical device!
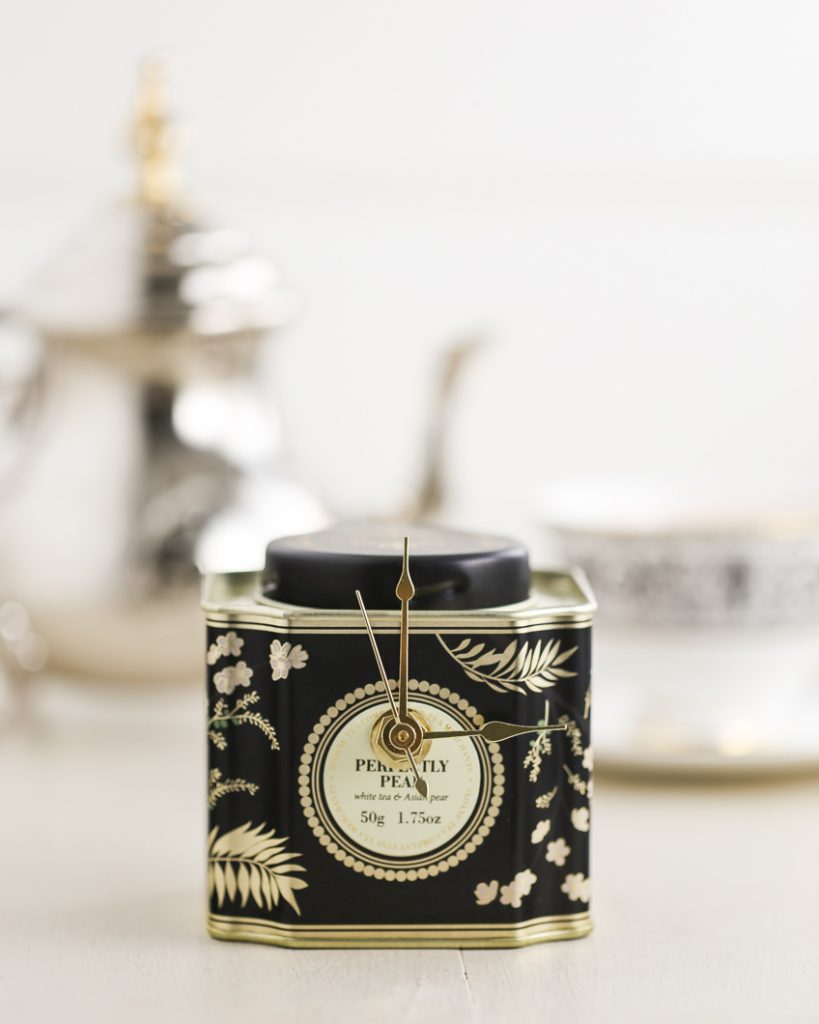 It took me a long time to figure out how to get a hole into tin without any special tools. What’s great here is that you probably already have most the items that you need to make this DIY. The exception is the mini clock set, which can be easily purchased at any craft store for under $10.
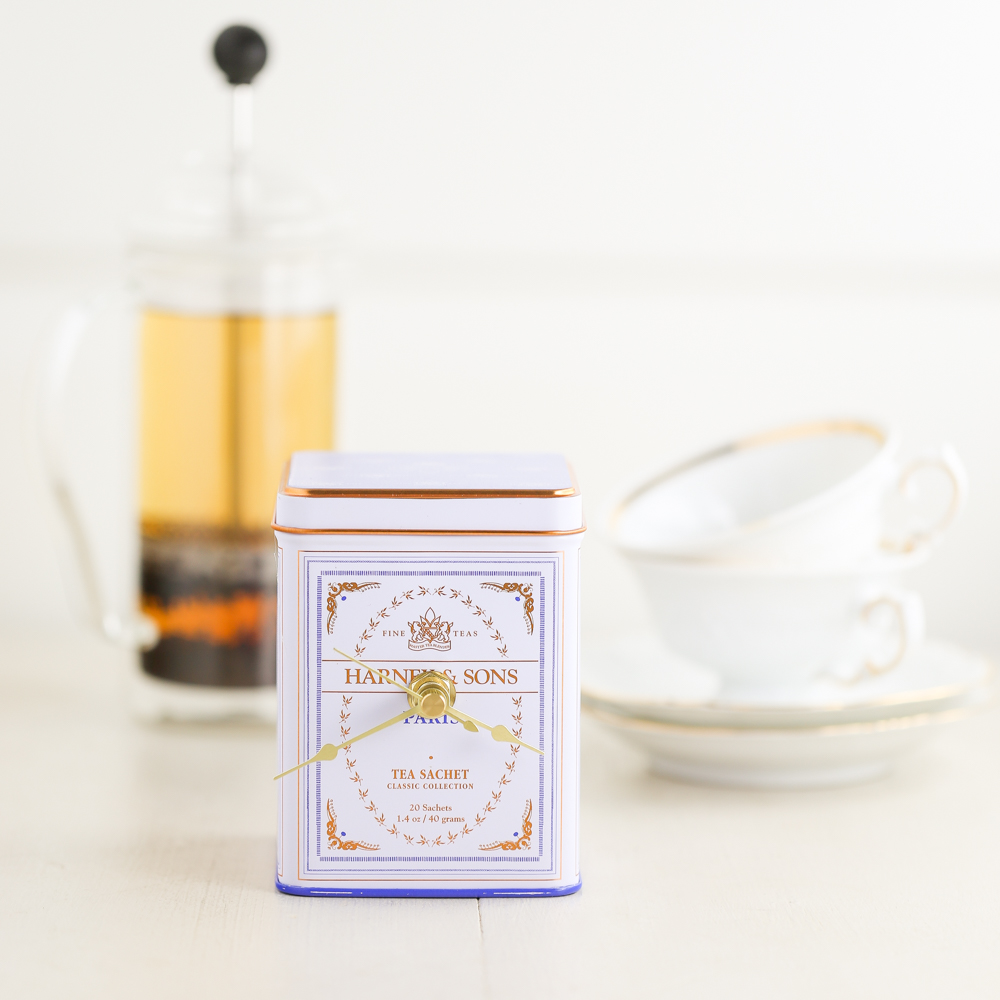 These 3 Tea Tin Clocks were made specifically to match the decor of my home (where there are lots of blue and white china inspirations). Minus the freezer time, I was able to make all 3 clocks in under an hour. For an item as unique and beautiful as these, I’d say that’s time well spent!
Tea Tin Clock
What You’ll Need:
empty tea tin
freezer
napkin or tea towel
hammer
nail
thin and thick screw drivers
hair dryer (optional)
mini clock set, with the clock movement small enough to fit inside the tin
tape
Step-by-Step:
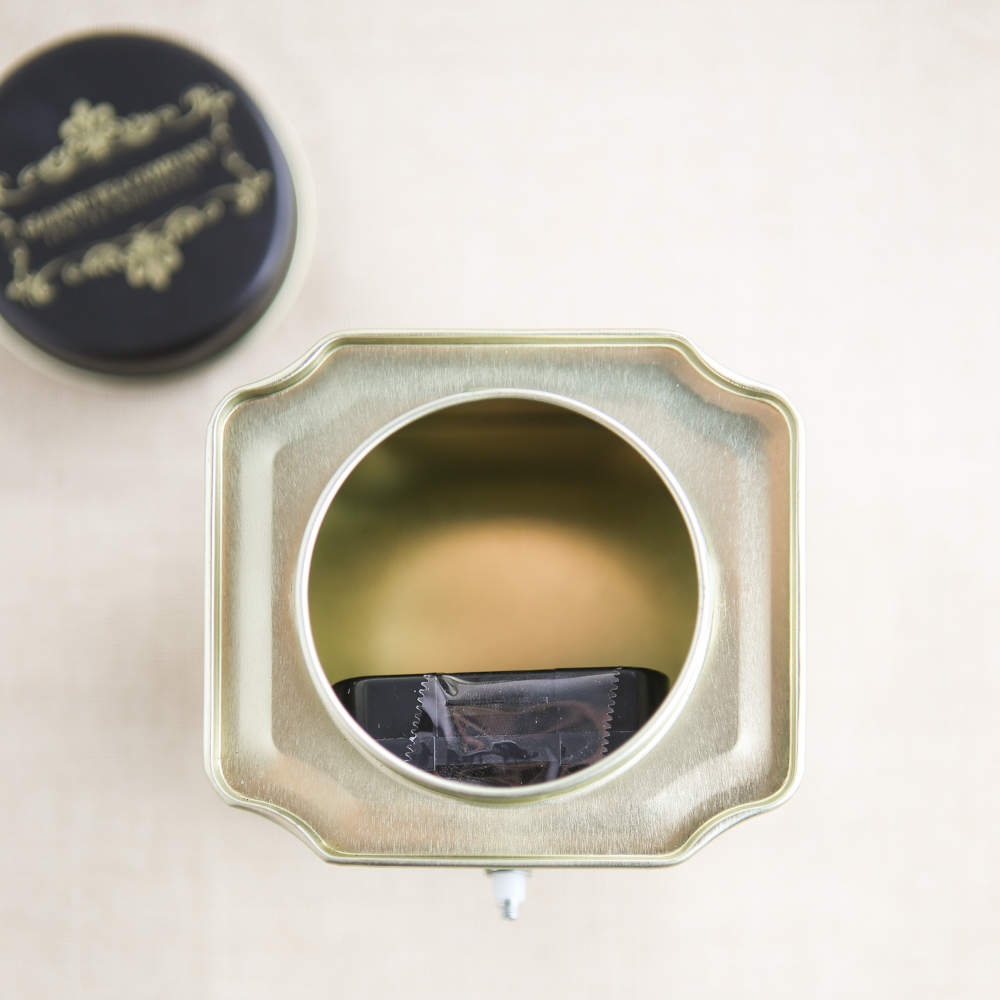
1. Fill an empty tea tin with water until just shy of full. Place this in the freezer and wait for the water to completely harden to ice.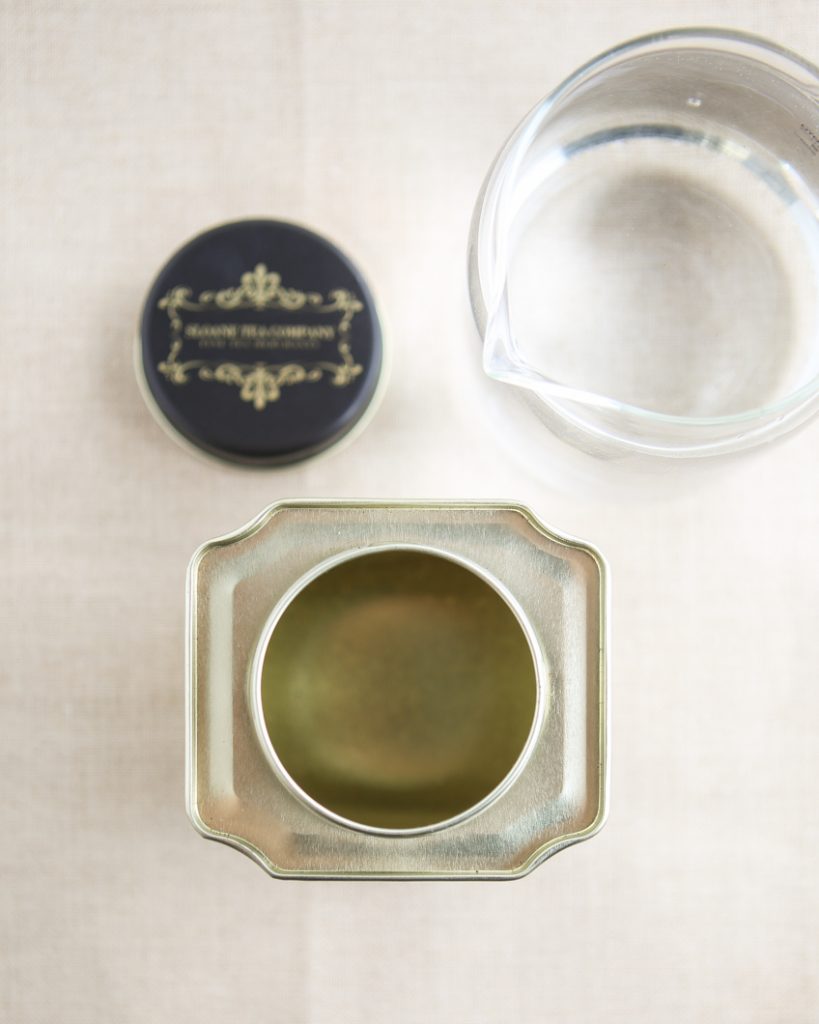
2. Place the ice-filled tea tin front face up on a layered napkin or tea towel. Place a nail in a location on the tin where you want the center of your mini clock to be. Holding the nail steady, carefully hammer the nail in through the tin until it goes all the way through.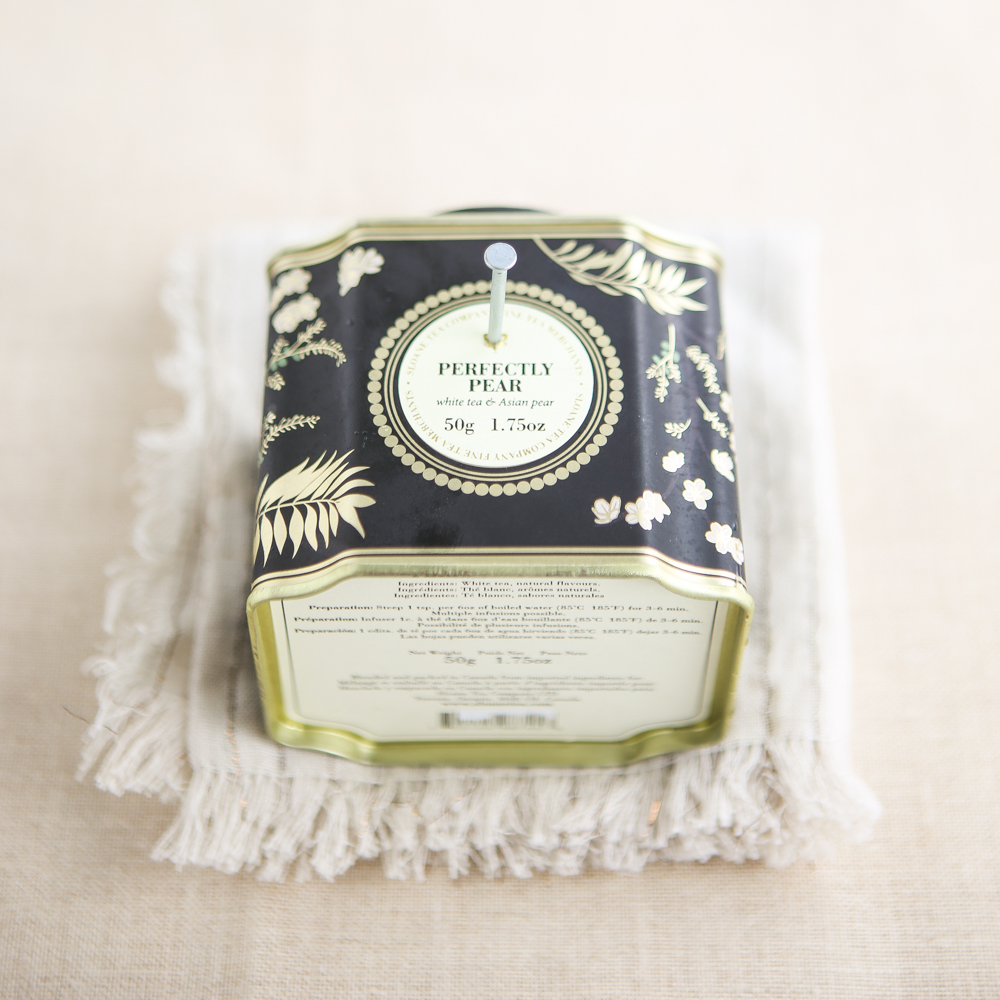
3. To make the hole larger, hammer the tip of a small screw driver into the center hole in the tin until it clears.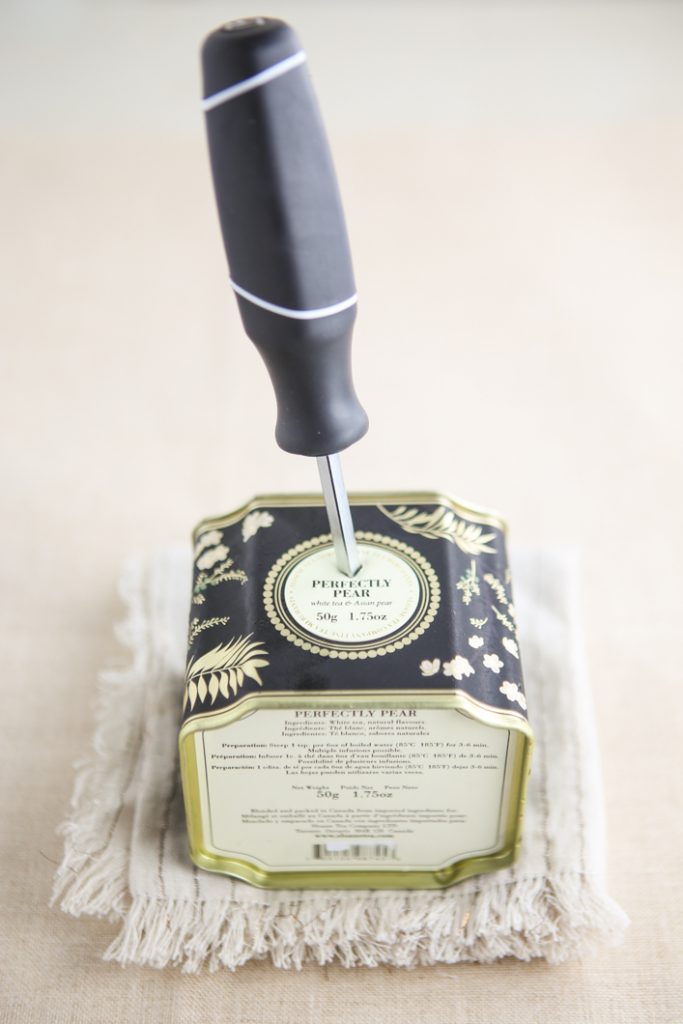
4. Finally, to make the hole even larger still, hammer the tip of a bigger screw driver into the center hole until it clears.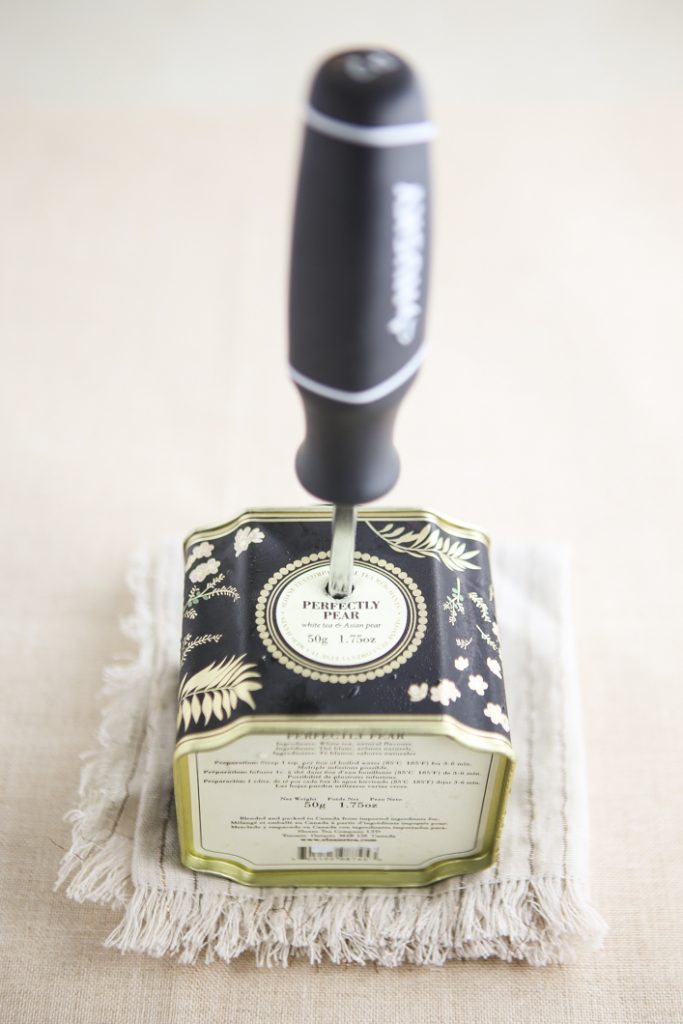
5. Wait for the ice to melt or run it under hot water to liquefy the ice inside the tin. Drain the water out, then dry the inside and outside of the tin completely. You can use a hair dryer to assure that no moisture is left.
6. Place a battery in the clock movement. Following the manufacturer’s instructions, attach the base screw of the mini clock set through the hole (now considered the “clock face”) created in the tea tin. You may need to use some tape to secure the clock movement inside the tin.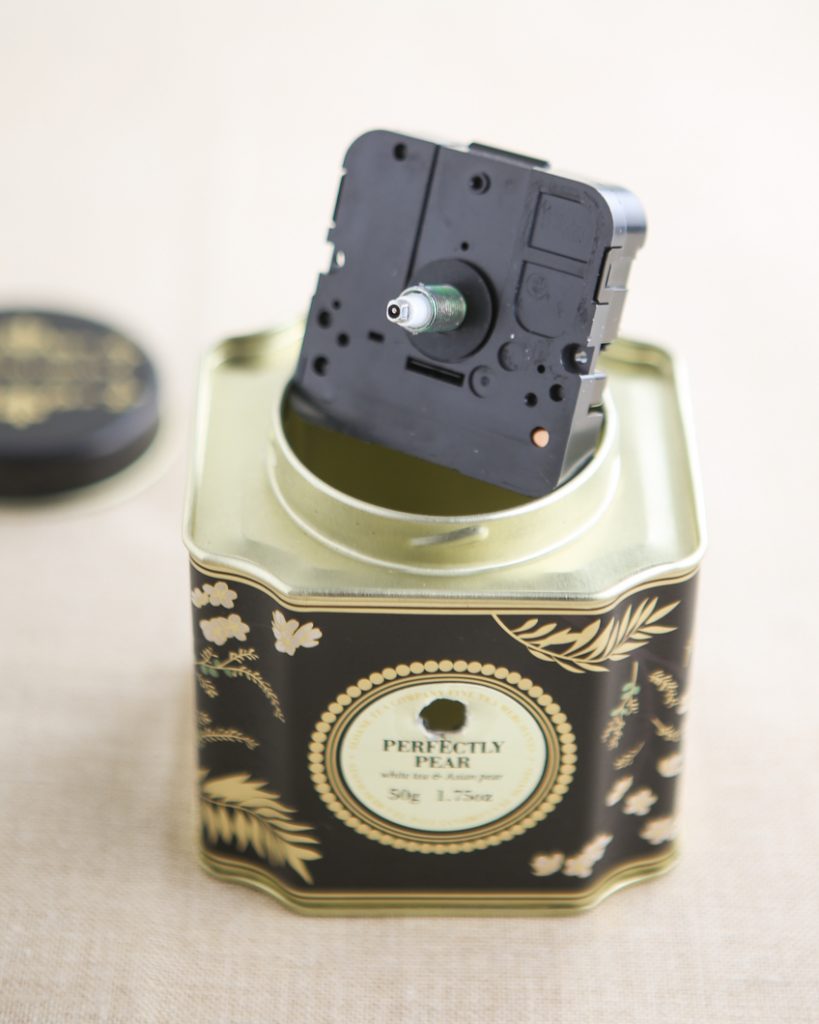
 7. Following the mini clock manufacturer’s instructions, attach all the clock arms in the correct sequence.
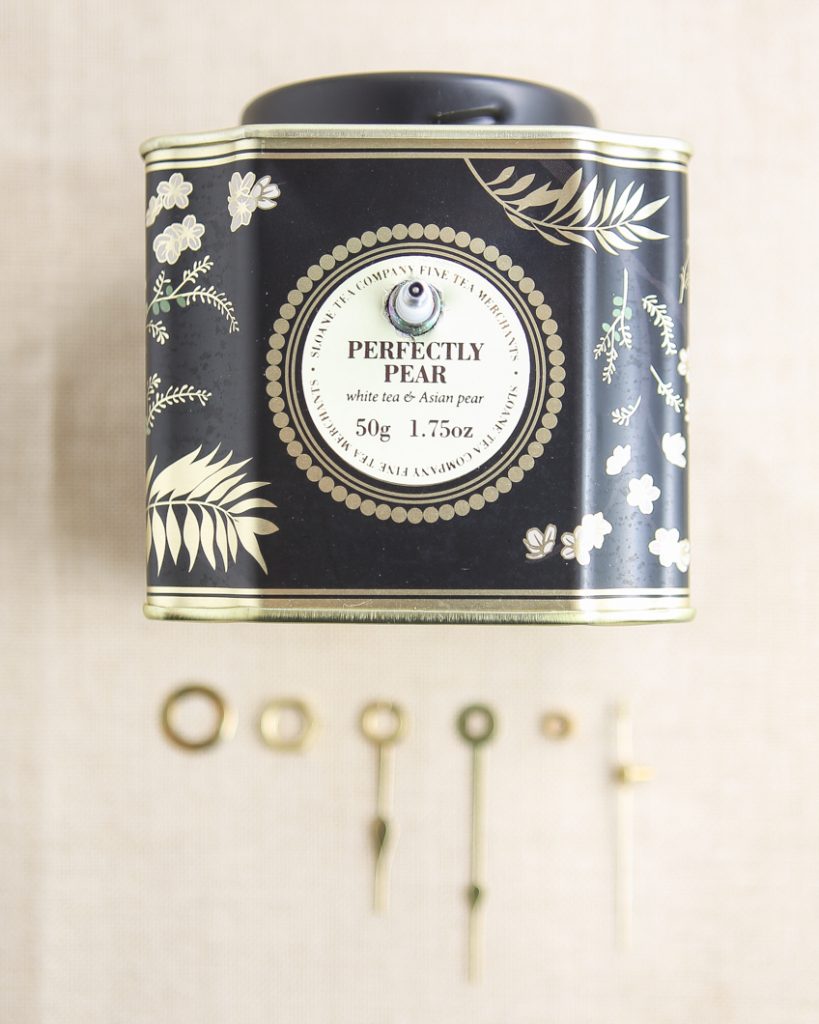
8. Your Tea Tin Clock is now complete!
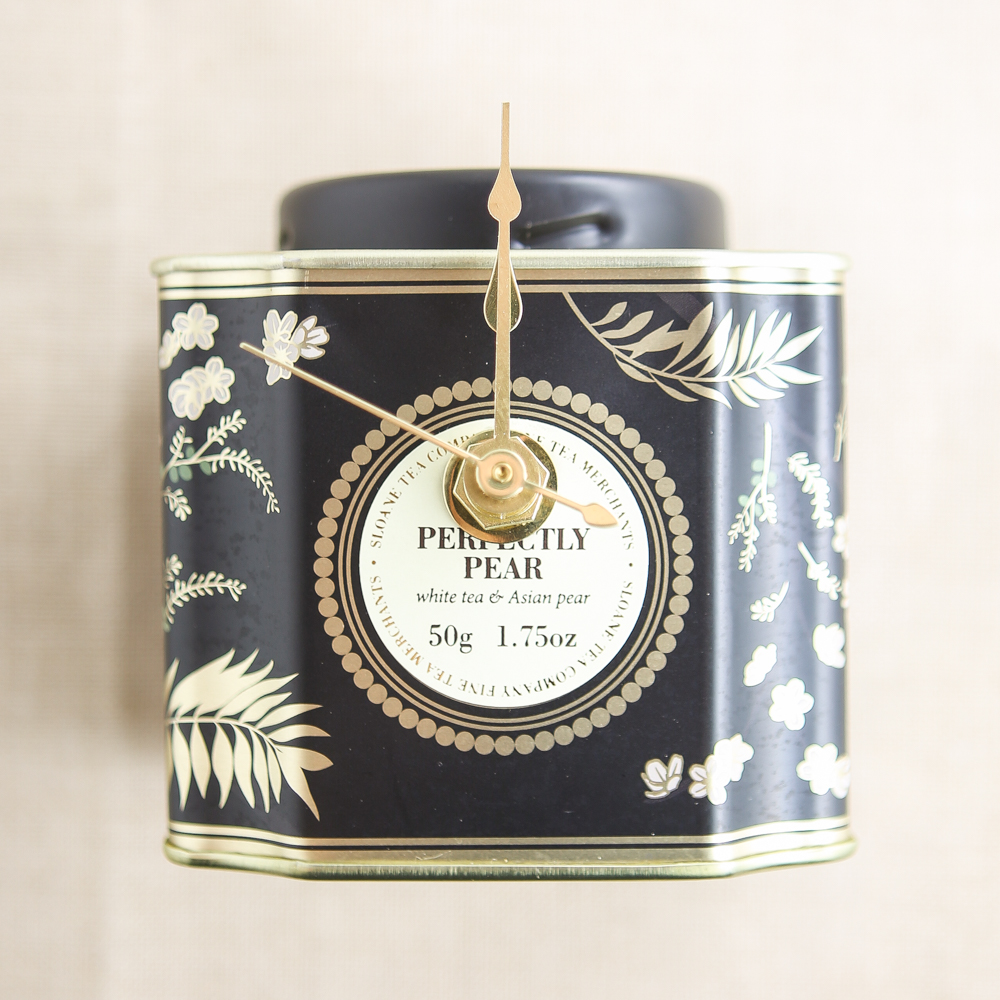
Note: If your tea tin is on the short side (like the one shown here), sometimes the purchased clock hands (from the mini clock set) may be too long to clear surface that the clock is sitting on. If so, the clock hands can easily be snipped with a pair of scissors. 


