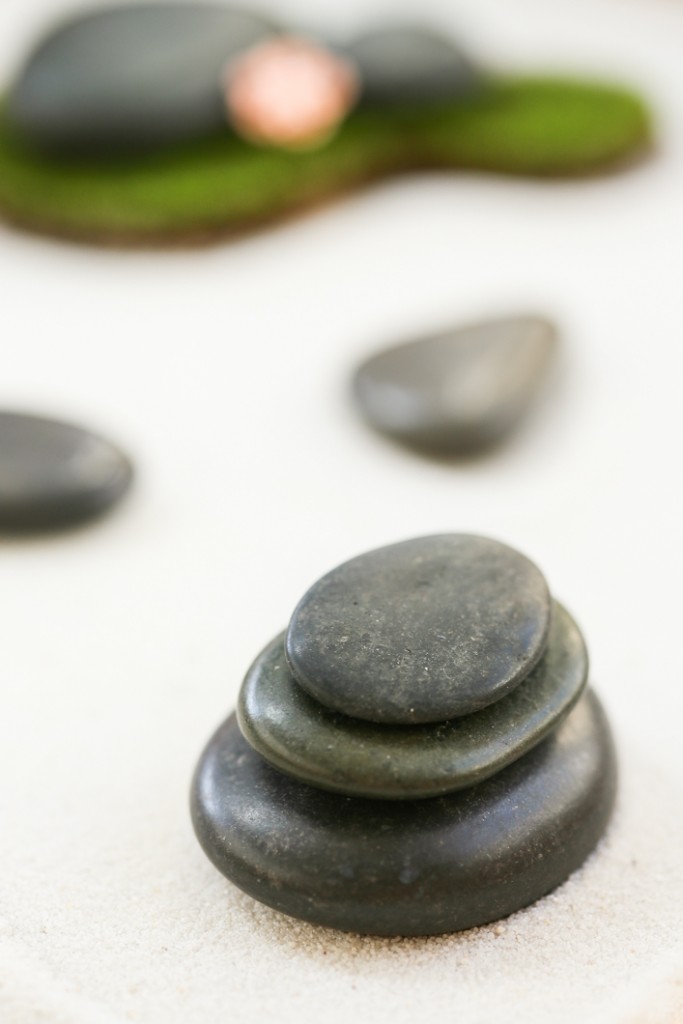
 In today’s crazy world, who couldn’t use an extra dose of Zen? The Zen tradition emphasizes calm mindfulness, letting go, and quieting the mind. Creating your own Mini Zen Garden is a way to bring some of those ideas to life. With sand, stones, and a few simple details, you can create a tranquil space for relaxation.
  A Zen garden is meant to look simple. Its peace and serenity is intended to unfold as you continue to study it. In it’s purest form, there are no large plants or water in this type of garden. This is why Zen gardens are often referred to as rock gardens or dry gardens. The raked patterns in the sand suggest the idea of flowing water.
  The key to creating a dynamic Mini Zen Garden is to fix certain features while leaving others free to move. Here, the main grass area, cherry blossoms, Happy Buddha, and smaller stones are all secured to the base of the box. When you want to create a new design in your garden, all you have to do is pick up the box and lightly shake it horizontally (like an Etch-A-Sketch!). You can then move the stones and island accordingly to create fresh designs.
The last must-have garden item is a small rake for creating lines in the sand. I know it’s ridiculous, but I ended up finding a Kikkerland back scratcher to do the job. When the scratcher is collapsed, it measures only 7 inches, the ideal size for this garden. If you want to be truly Zen, try to use this solely for mini-gardening and not for actual back-scratching! The enclosed shadow box frame helps to preserve a tidy, dust-free garden, and also creates the aquarium-like illusion of peering into another world. This Mini Zen Garden makes an intriguing coffee table topper or gift for students of meditation. At the very least, this will give you a new appreciation for how hard it is to create neat looking sand patterns. Find a quiet space, brew up some tea, and rake away!
Mini Zen Garden
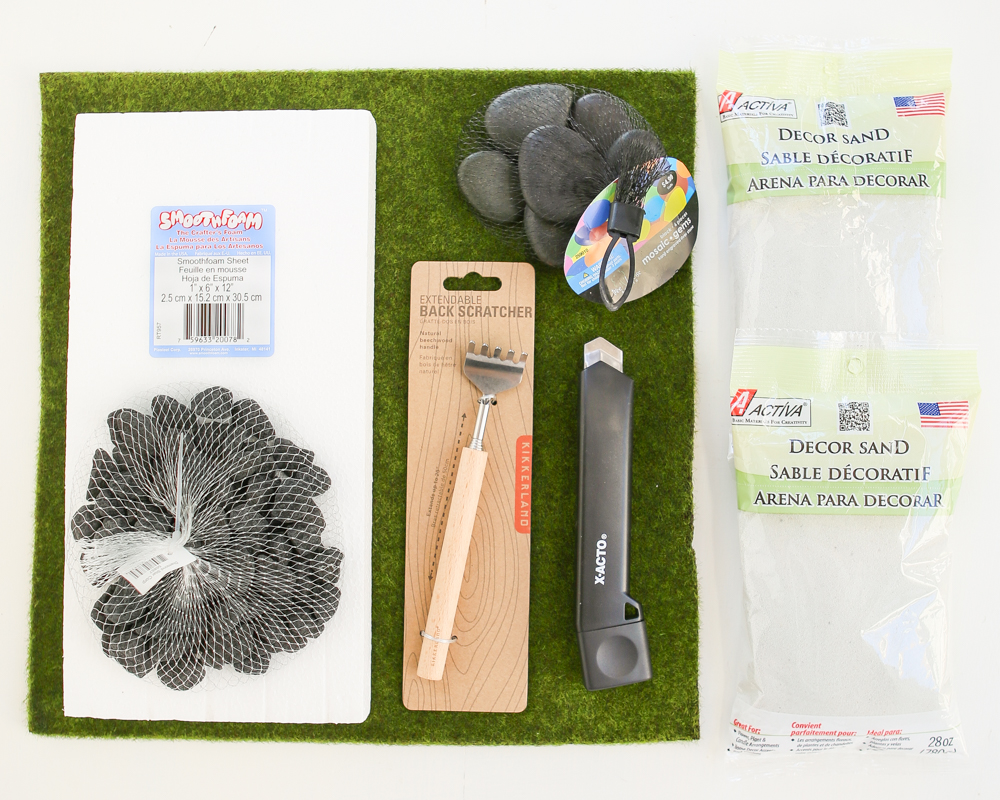
What You’ll Need:
top-loading shadow box frame (I used one made of bamboo)
small piece of cardboard
black marker
box cutter
scissors
craft glue
decorative sand
decorative stones
Zen-inspired figurines (I got my mini Happy Buddha at Michael’s in the miniature section)
Step-By-Step:
1. Start by making sure that all of the garden elements complement each other to scale, according to the size of the shadow box.
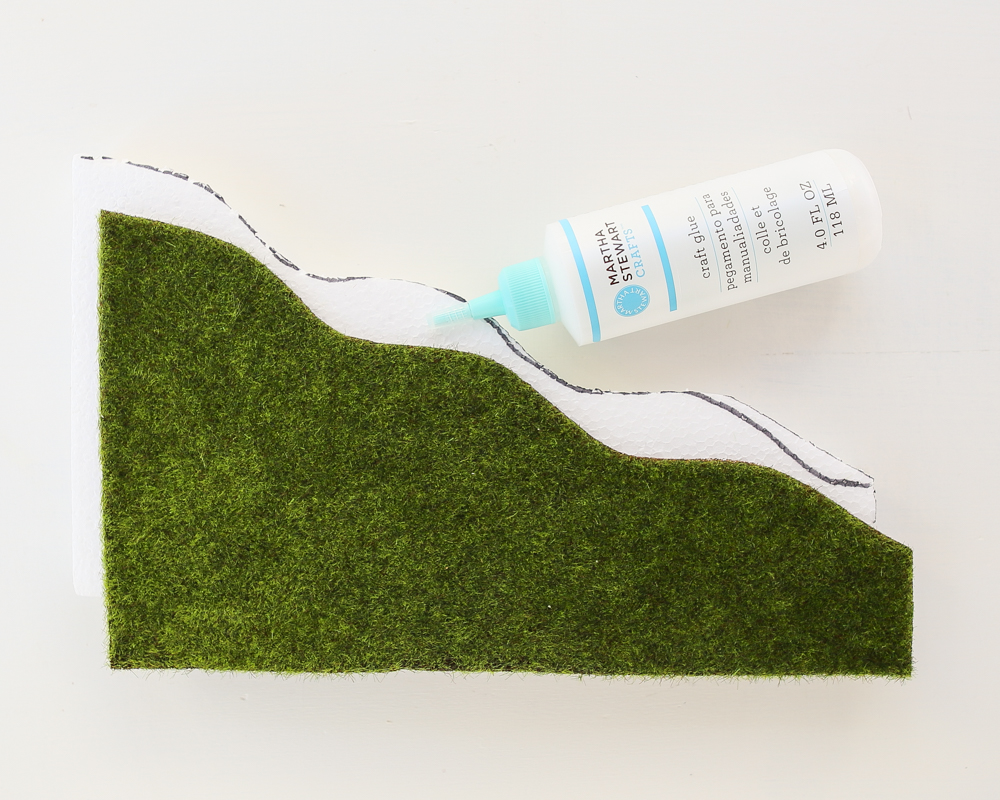
2. Use the marker to draw a wavy border 45 degrees or parallel to the long side of the foam piece. Use the box cutter to cut through the wavy design you just created. Also cut the foam piece to fit the short side of the shadow box snugly (I removed 1″ off the length). Do this on a stable, protected surface so that you don’t hurt yourself. 3. Now take the cut-out foam piece and place it against the back side of the moss sheet. Use the black marker to trace the edges of the foam piece onto the sheet. Use the scissors to cut out the traced piece of moss.
  4. Flip the cut moss sheet over, then glue the bottom of it to the top of the cut styrofoam. Apply the glue generously and evenly.
  5. Place the moss foam sheet into the shadow box. Fill the empty space to the right of the grass with sand. Fill this space so that the sand evenly fills to 1/4″ under the moss foam sheet. I used 4-28 ounce packets of sand.
 6. Glue any rocks or figurines to the moss foam sheet. For me, this meant gluing the rocks and Happy Buddha down, then sticking the cherry blossoms stickers on.
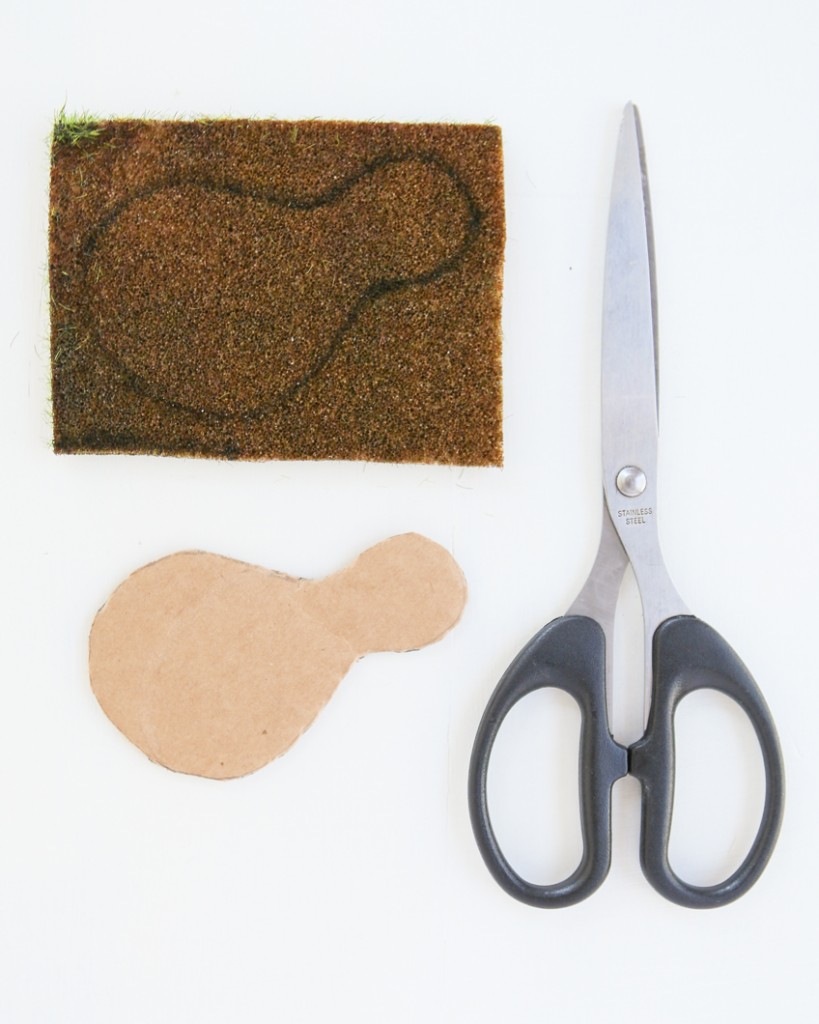
  7. If you want to create an “island,” sketch a shape on a small piece of cardboard, cut it out, then trace that shape onto the back of the moss sheet using a black marker. Cut the moss shape out using scissors, then glue the moss cut out on top of the cardboard cut out. You can then glue rocks on top of the island if you want.
8. Add the rake and smooth stones and you are ready to create some beautiful garden designs!


